One blurry photo loses a buyer instantly. Malaysian shoppers judge quality from images first, not the description. Most sellers overspend on ads while skimping on the photos that convert. This guide covers the equipment, lighting, and shot types that work for Shopee MY, Lazada MY, and Shopify. Most of it costs under RM 400.
This guide is part of our ecommerce content marketing series, and it walks through exactly what you need, step by step, whether you’re shooting on a phone or building out a small home studio.
| RM 150-400 | RM 300-800 | 6-9 photos |
| Typical one-time cost for a DIY lightbox and LED lighting setup | Typical cost for a half-day freelance photography session (20-40 shots) | Typical photo count on well-performing Shopee MY and Lazada MY listings |
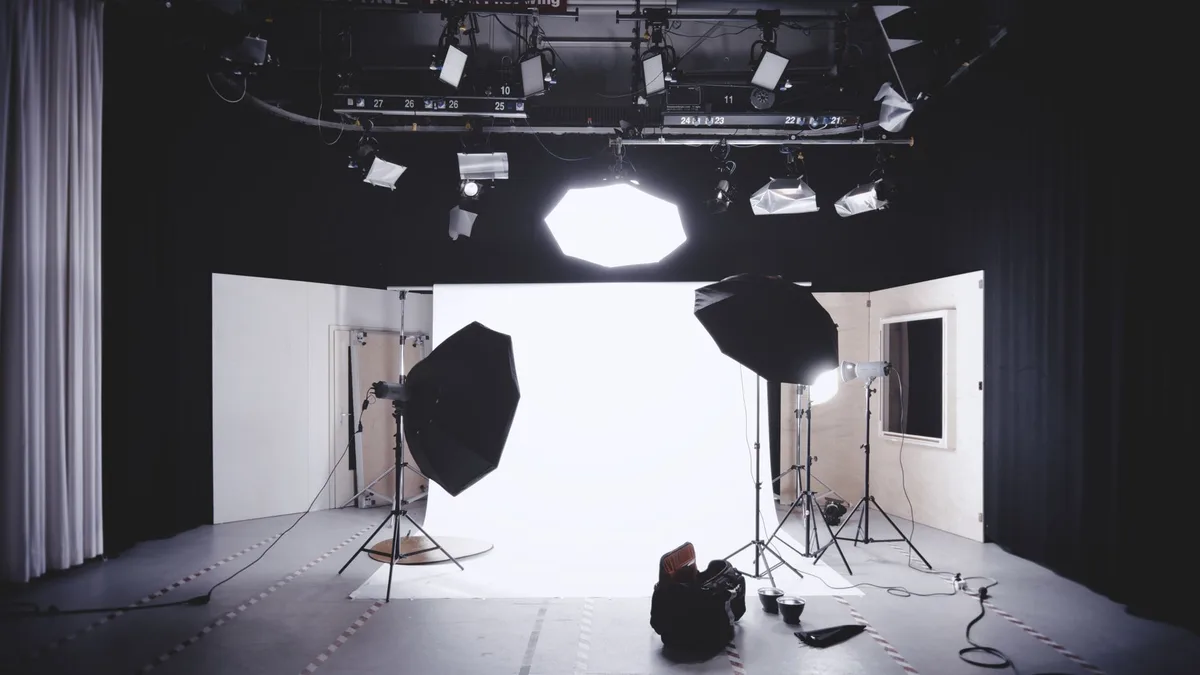
What Is Ecommerce Product Photography and Why Does It Matter?
Ecommerce product photography is the practice of shooting images that show a product’s appearance, scale, texture, and use case clearly enough for a shopper to trust a purchase without touching the item first. Baymard Institute’s ecommerce usability research consistently ranks product images among the top factors shoppers use to judge quality and decide whether to buy.
Online, photos do the job a physical store does through touch and trial. A shopper on Shopee MY can’t pick up your product, check the stitching, or feel the fabric. The photos are the entire pitch.
That’s why two sellers with the same product can post wildly different sales numbers. One shoots with a phone against a cluttered kitchen counter. The other shoots with even lighting, a clean background, and 2-3 angles that answer the questions a buyer would otherwise ask in chat. The second seller wins more orders from the same traffic, without spending a single ringgit more on ads.
This matters more in categories where fit, texture, or scale are hard to judge from text alone: fashion, beauty, home goods, and electronics accessories. If your category depends on visual trust, your photos are a conversion lever you control directly, unlike ad costs or platform algorithms.
What Equipment Do You Need to Shoot Product Photos on a Budget?
Most Malaysian sellers can start with a smartphone, a white backdrop, and natural window light, spending RM 0-50 to launch. A DIY lightbox with LED strip lighting (RM 150-400) becomes worth the investment once you’re managing 20 or more SKUs and need consistent backgrounds across every listing.
Match your setup to how many products you’re shooting, not to what looks impressive.
| Budget Tier | Setup | One-Time Cost (RM) | Best For |
|---|---|---|---|
| Smartphone only | Recent smartphone, natural window light, white poster board backdrop | RM 0-50 | New sellers testing a handful of SKUs |
| DIY lightbox | 60cm collapsible lightbox, 2 LED strip lights, smartphone or entry DSLR | RM 150-400 | Sellers with 20+ SKUs who need a consistent background |
| Semi-pro setup | Entry DSLR or mirrorless camera, softbox lights, tripod, backdrop stand | RM 800-2,000 | Sellers scaling past marketplaces into their own Shopify store |
| Freelance photographer | Half-day session, typically 20-40 shots | RM 300-800 per session | Sellers who would rather outsource than learn photography |
A tripod (or even a stack of books) matters more than most sellers realize. Handheld shots introduce slight blur and inconsistent framing across a product line. A fixed camera position, even a cheap phone clamp, makes every photo in a listing look like it belongs together.
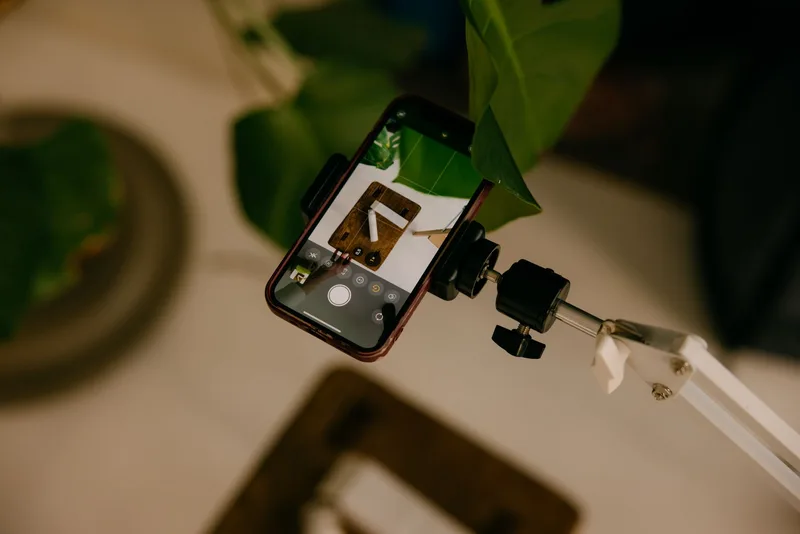
How Do You Set Up Lighting for Ecommerce Product Photos?
Even, diffused lighting from the side or front avoids the harsh shadows and blown-out highlights that make DIY product photos look amateur. A spot beside a window (not direct sun) or two LED panels angled at 45 degrees on either side of the product both achieve this without a professional studio.
Lighting is the single biggest gap between a photo that looks homemade and one that looks store-ready. The fix rarely requires spending more; it requires positioning what you already have correctly.
Natural light setup (free): Shoot near a large window, but never in direct sunlight. Overcast light or a window with sheer curtains diffuses the light evenly. Position the product so the light hits it from the side or front, not directly behind it.
LED panel setup (RM 150-400): Place two small LED panels at roughly 45-degree angles on either side of the product. This cancels out hard shadows on both sides. Add a third light above or behind for products with height (bottles, boxes) to avoid a flat, shadowless look.
What to avoid: Overhead ceiling lights alone create shadows under the product. A single lamp from one side creates a harsh shadow on the other. Mixing warm (yellow) and cool (white) light sources in the same shot shifts the color of your product inconsistently across photos, which is one of the fastest ways to lose buyer trust when the delivered item doesn’t match the listing photo.
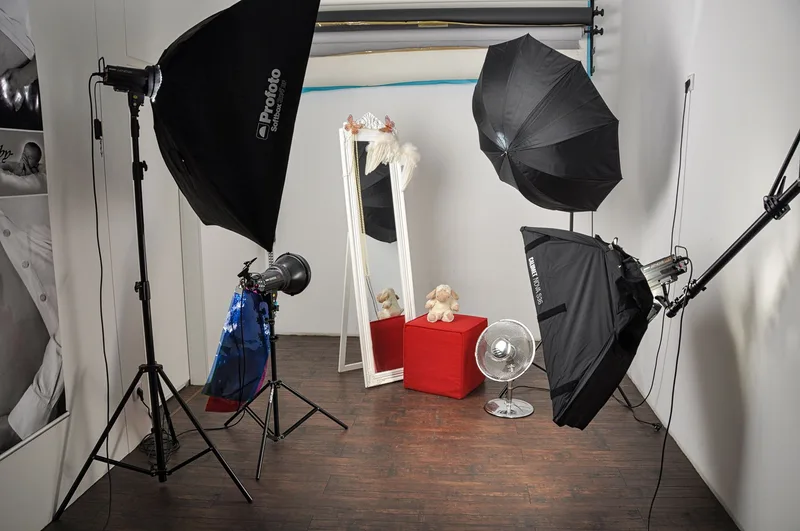
Want copy that matches your new product photos? Use our free product description generator to draft listing copy in minutes. No signup required.
What Types of Product Shots Does Your Listing Need?
A complete listing needs five shot types: a clean hero shot, 2-3 detail close-ups, 1-2 lifestyle or in-use shots, a scale reference, and a packaging shot. Each type answers a different question a shopper has before checkout, and skipping any of them leaves that question unanswered until the shopper messages you or abandons the listing.
Think of each shot as answering one specific buyer question:
- Hero shot. The main listing image. Clean white or neutral background, product centered, even lighting. This is what shows in search results and category browsing, so it carries the most weight.
- Detail shots (2-3 images). Close-ups of texture, stitching, material, or any feature text alone can’t fully convey. These build trust for shoppers who’ve been burned by items that didn’t match photos before.
- Lifestyle or in-use shots (1-2 images). The product being worn, used, or placed in a real setting. This helps shoppers picture ownership, not just inspect a static object.
- Scale reference (1 image). A hand holding the product, or the product next to a common object (a coin, a phone). Size confusion is one of the most common return reasons across marketplace sellers.
- Packaging shot (1 image). What arrives at the buyer’s door. This sets expectations and reduces “not as described” disputes.
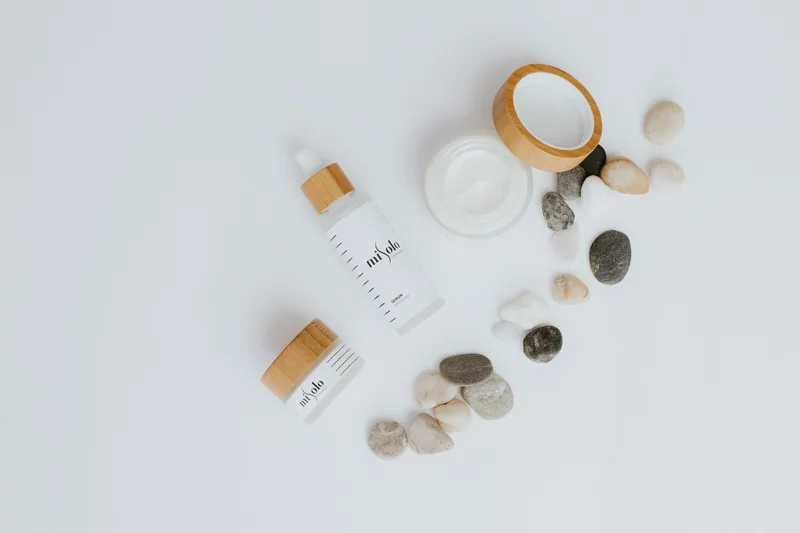
How Do You Edit and Optimize Photos for Shopee, Lazada, and Shopify?
Basic editing means correcting white balance, brightening shadows slightly, and cropping to each platform’s required aspect ratio (Shopee MY and Lazada MY both favor square 1:1 images). Free tools like Canva, Snapseed, or Lightroom Mobile cover this without a paid subscription for most sellers.
Editing isn’t about heavy retouching. It’s about consistency and technical compliance with each platform’s requirements.
Correct white balance first. If your photos look slightly yellow or blue, most free editing apps have a one-tap auto white balance fix. Do this before anything else since it affects how accurate your product’s actual color appears.
Crop to platform specs. Shopee MY and Lazada MY both display listing thumbnails in a square format, so shoot or crop with that ratio in mind from the start rather than cropping important detail out of an image after the fact. A standalone Shopify store gives you more flexibility, but consistency across your own catalog still matters.
Compress before upload. Large uncompressed files slow down your listing page, and slow pages lose mobile shoppers, who make up the majority of marketplace traffic in Malaysia. Tools like TinyPNG or Shopify’s built-in image compression cut file size with no visible quality loss. This same page-speed problem shows up across your whole store, not just marketplace listings. See our guide to ecommerce conversion rate optimization for the full picture.
Name files and write alt text properly. Rename image files to describe the product (not “IMG_4821.jpg”) and add descriptive alt text on your own site. Search engines can’t see the image itself, only the text around it, and neither can a shopper using a screen reader.
Once your photos are edited, they don’t have to stay in one place. A well-lit hero shot works well the moment you start recruiting partners into an affiliate program, and the same detail shots save a separate shoot when you set up TikTok Shop affiliate campaigns. See Shopify’s own photography guide for lighting diagrams and staging examples by product category.
What Mistakes Should You Avoid When Shooting Product Photos?
The most common mistakes are inconsistent backgrounds across a listing, harsh single-source shadows, skipping the scale reference shot, and using only 1-2 photos total. Each of these leaves shoppers with unanswered questions, which pushes them toward a competitor’s listing that answers those questions instead.
- Inconsistent backgrounds. Mixing a white-background hero shot with a lifestyle shot on a cluttered desk looks unplanned. Pick a consistent style across your catalog so your storefront looks like one brand, not a garage sale.
- Single hard-shadow lighting. A photo lit from only one angle with no fill light creates a shadow that draws the eye away from the product itself.
- No scale reference. Skipping this shot is one of the fastest routes to a size-related return or refund request, especially for jewelry, accessories, and packaged goods where dimensions aren’t obvious.
- Too few photos. A listing with only 1-2 images leaves shoppers guessing about texture, color accuracy, and what’s actually included. More angles reduce pre-purchase questions and post-purchase disputes.
- Reusing supplier stock photos. Many Malaysian sellers sourcing from the same wholesaler end up with identical listing photos to a dozen competitors. Original photos, even simple ones, differentiate your listing in a way price alone can’t.
Frequently Asked Questions
What is the best camera for ecommerce product photography?
A mid-range smartphone with a 12-megapixel or better rear camera is enough for most listings, especially on Shopee MY and Lazada MY where images display at moderate, compressed resolution. A DSLR or mirrorless camera becomes useful once you need large hero images for a standalone Shopify store, but it is not a starting requirement.
How much does professional product photography cost in Malaysia?
Freelance product photographers in Malaysia typically charge RM 15-50 per photo, or RM 300-800 for a half-day session covering 20-40 product shots, depending on experience and studio access. A DIY lightbox setup covers most SME sellers for a one-time cost of RM 150-400.
Do I need a lightbox for ecommerce product photos?
A lightbox is not mandatory, but it solves the two hardest parts of DIY photography: even lighting and a clean white background, both of which Shopee MY and Lazada MY expect for the primary listing photo. A basic 60cm lightbox with LED strips typically costs RM 80-200 and pays for itself after a few listings.
How many photos should each product listing have?
Most well-performing Shopee MY and Lazada MY listings use 6-9 photos: one clean hero shot, 2-3 detail or texture close-ups, 1-2 lifestyle or in-use shots, and 1-2 images showing scale or packaging. Listings with only 1-2 photos give shoppers far less to evaluate before they decide to buy.